The short answer
Colour-coded cleaning gives every cleaning tool a colour that matches the area or job it belongs to. A red broom only ever cleans the red zone, and a green squeegee only ever does floors. Because the colour is visible from across the room, anyone can see when a tool has wandered into the wrong place before it carries bacteria, allergens or foreign matter with it.
Is there a standard cleaning colour code in Australia?
No. There is no single colour code that every Australian food business has to follow. The Food Standards Code (Standard 3.2.2) requires equipment to be kept clean and food to be protected from contamination, and certification schemes such as BRCGS, SQF and FSSC 22000 expect cleaning equipment to be controlled and identified for its intended use. None of them dictate which colour means what.
That leaves the choice to each site. What matters to an auditor is that your code is written down, matches your HACCP plan and hazard zones, and is followed on the floor every shift.
Three ways to split your colours
- By zone One colour per hygiene zone, for example high-risk, low-risk and packing. This is the most common approach in food manufacturing.
- By task One colour per type of job, for example food-contact surfaces, floors, and drains and waste. Useful where the same zone has very different cleaning jobs.
- By allergen A dedicated colour for equipment used on an allergen line, so it never touches allergen-free areas.
Larger sites often combine two of these: colour for the zone, plus a label or handle colour for the task.
An example code (adapt it to your own hazard analysis)
- Red High-risk or raw areas.
- Yellow Low-risk areas.
- Blue Food-contact surfaces.
- Green Floors and general areas.
- Black Drains and waste.
Whatever you choose, keep it the same across every shift and every building. A colour that means “floors” in one shed and “food contact” in another defeats the purpose.
Setting up colour-coded cleaning in six steps
- Map your zones. Mark high-risk, low-risk and any allergen areas on a site plan.
- List the cleaning jobs in each zone and the tools each job needs: brooms, squeegees, scrapers, shovels, buckets, brushes and mops.
- Choose your colours and write the code into your cleaning procedures and HACCP plan.
- Buy one full set per zone. Shared tools are where colour coding breaks down.
- Give every set a home in its own zone, stored off the floor with a marked position for each tool.
- Train, display and check. Put the code where people clean, and include tool location and condition in your pre-op checks.
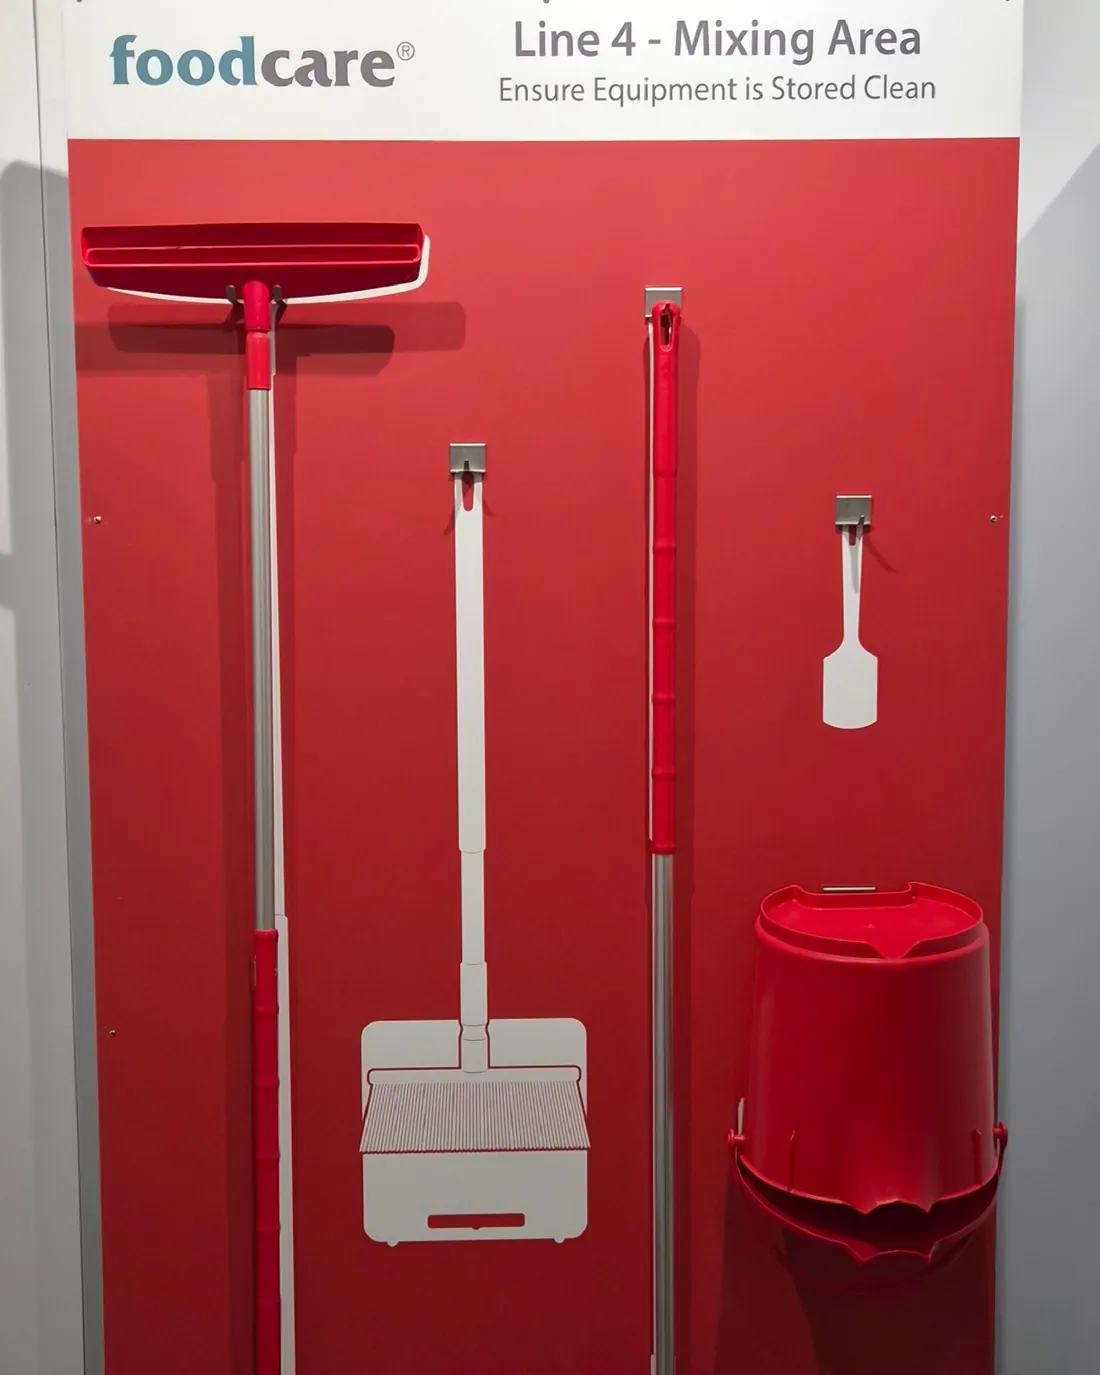
A red cleaning station for one mixing area, with a marked position for every tool.
Why storage is where colour coding fails
Most colour-coding problems are not about the colours. They happen when tools are left lying around, leant against a wall, borrowed for a quick job in another area or thrown into a shared cupboard. Once that happens, nobody can tell at a glance whether the right tools are in the right zone.
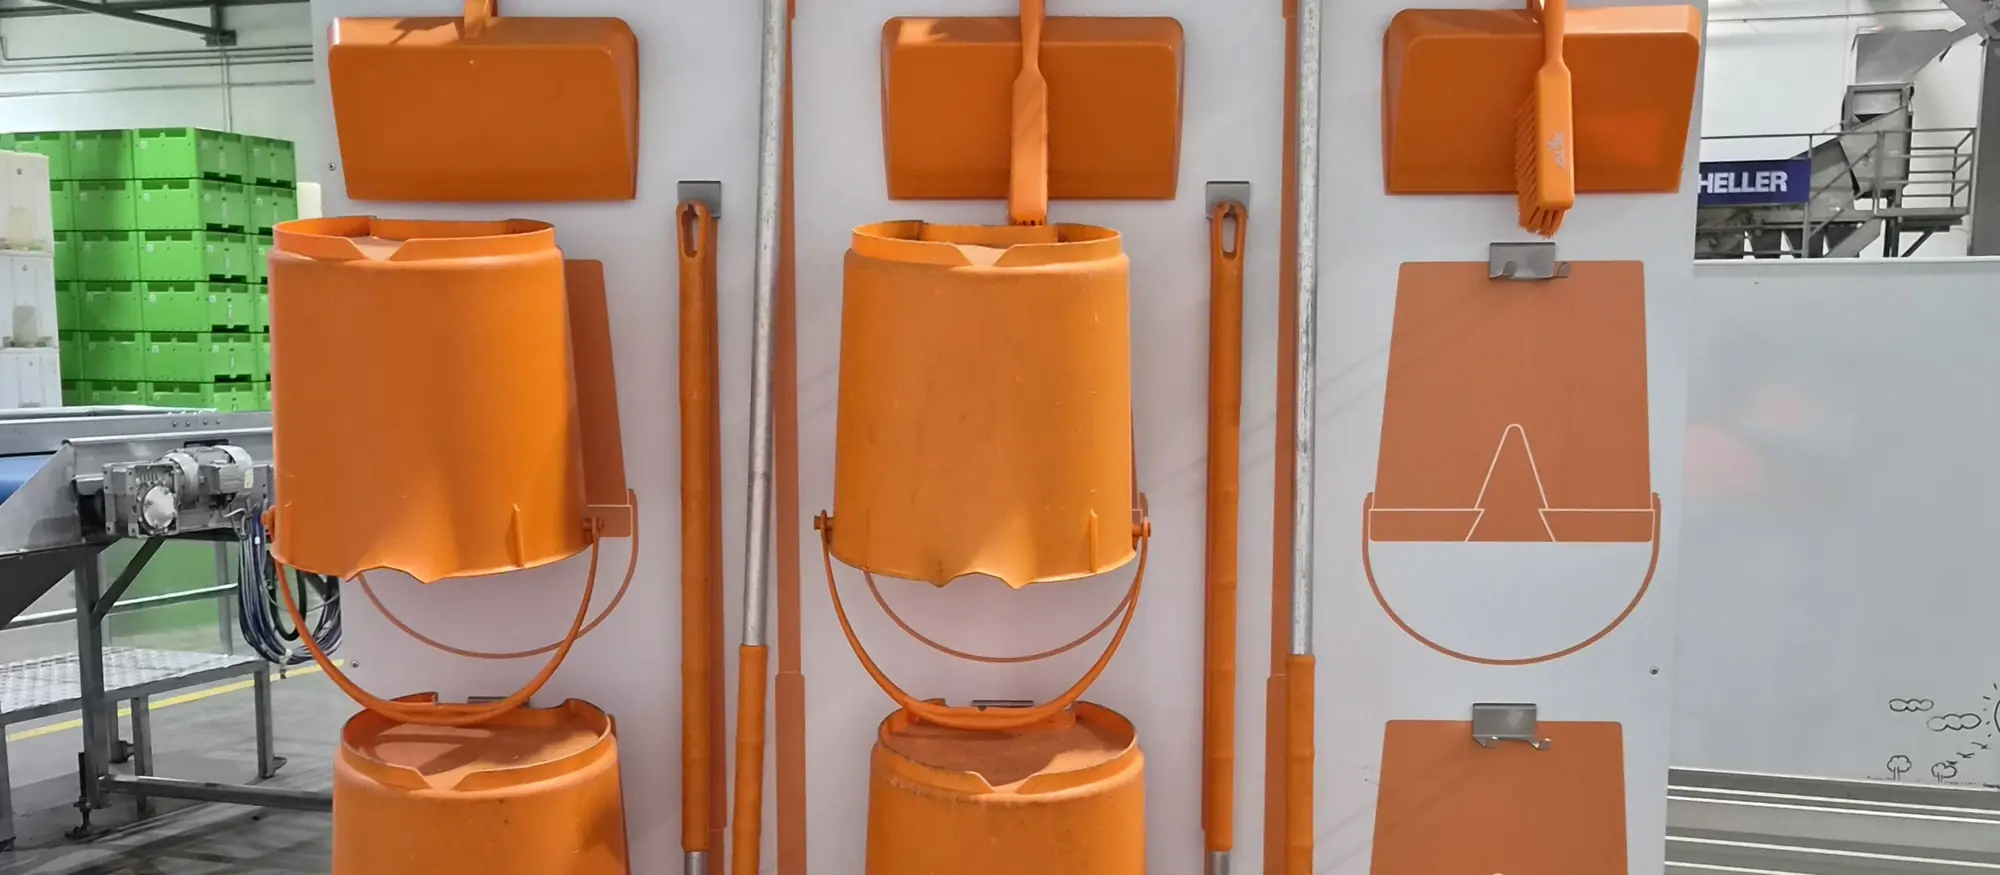
A colour-coded cleaning station fixes the storage half of the system. Each zone gets its own station in its own colour, with an outline or marked position for every tool. Tools hang off the floor so they drain and dry, and an empty position shows straight away when something is missing or in the wrong place.
What auditors look for
- A written colour code that matches your zones and HACCP plan.
- The right colours in the right zones, with no strays.
- Tools stored clean, dry and off the floor, not on the floor or in a mixed cupboard.
- Equipment in good condition, with damaged or worn tools replaced in the same colour.
- The code displayed where cleaning happens, and staff who can explain it.
If you are setting up colour coding for the first time or tightening it before an audit, send us photos of your cleaning equipment and areas. We will draw a free station layout for each zone within 24 hours.