Skip to content

Precision in place. Custom shadow boards and visual management systems for Australian workplaces.

Gallery

Shadow Board Examples and Layout Ideas

Real boards we have designed and built for Australian workplaces, and how to plan a layout for your own tools.

Real boards, not stock photos

Every example on this page is a board we designed and built for an Australian site. Each one started the same way: a list of the tools or equipment that belong in an area, a few photos of the space, and a layout drawn around that exact kit. Use them for ideas, then send us your photos and we will draw a layout for your own tools within 24 hours, free.

Looking for a particular type? Jump to tool shadow boards, 5S shadow boards, cleaning stations or PPE stations.

Tools and workshops

Tool shadow board examples

Boards for workshops, production lines and maintenance areas. Click any example to see more.

Tool shadow board with printed silhouettes and labels for spanners, pliers and hand tools

Hand tool shadow board

Every spanner, plier and driver has a printed silhouette and a label. Laid out from the workshop’s own tool list, smallest tools at eye level.

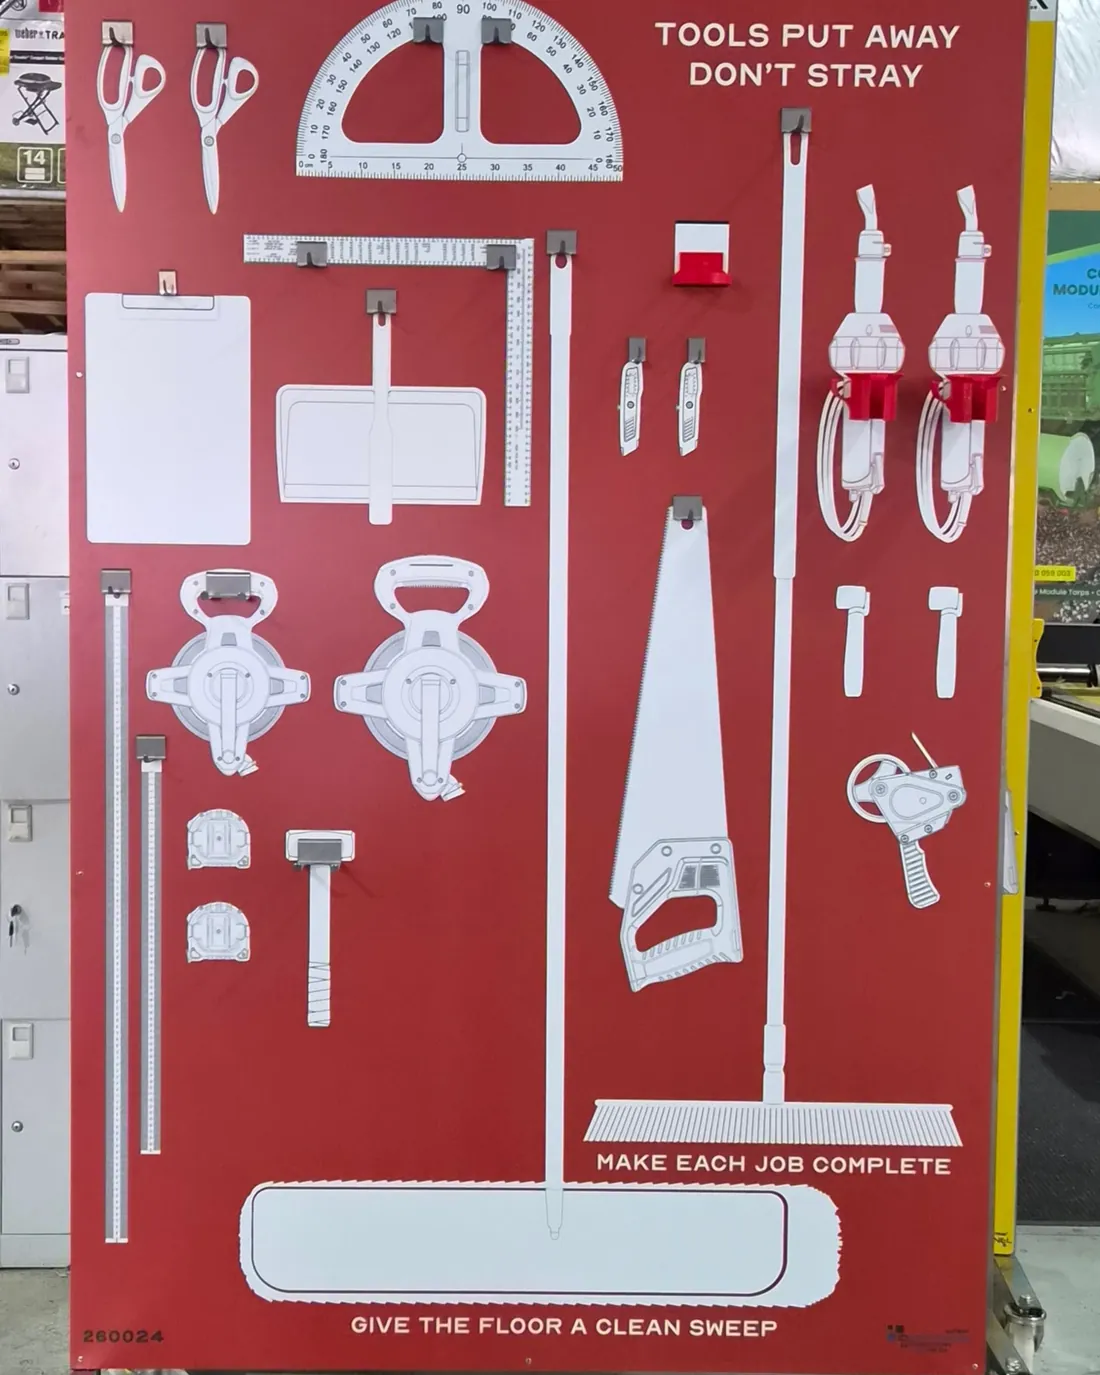
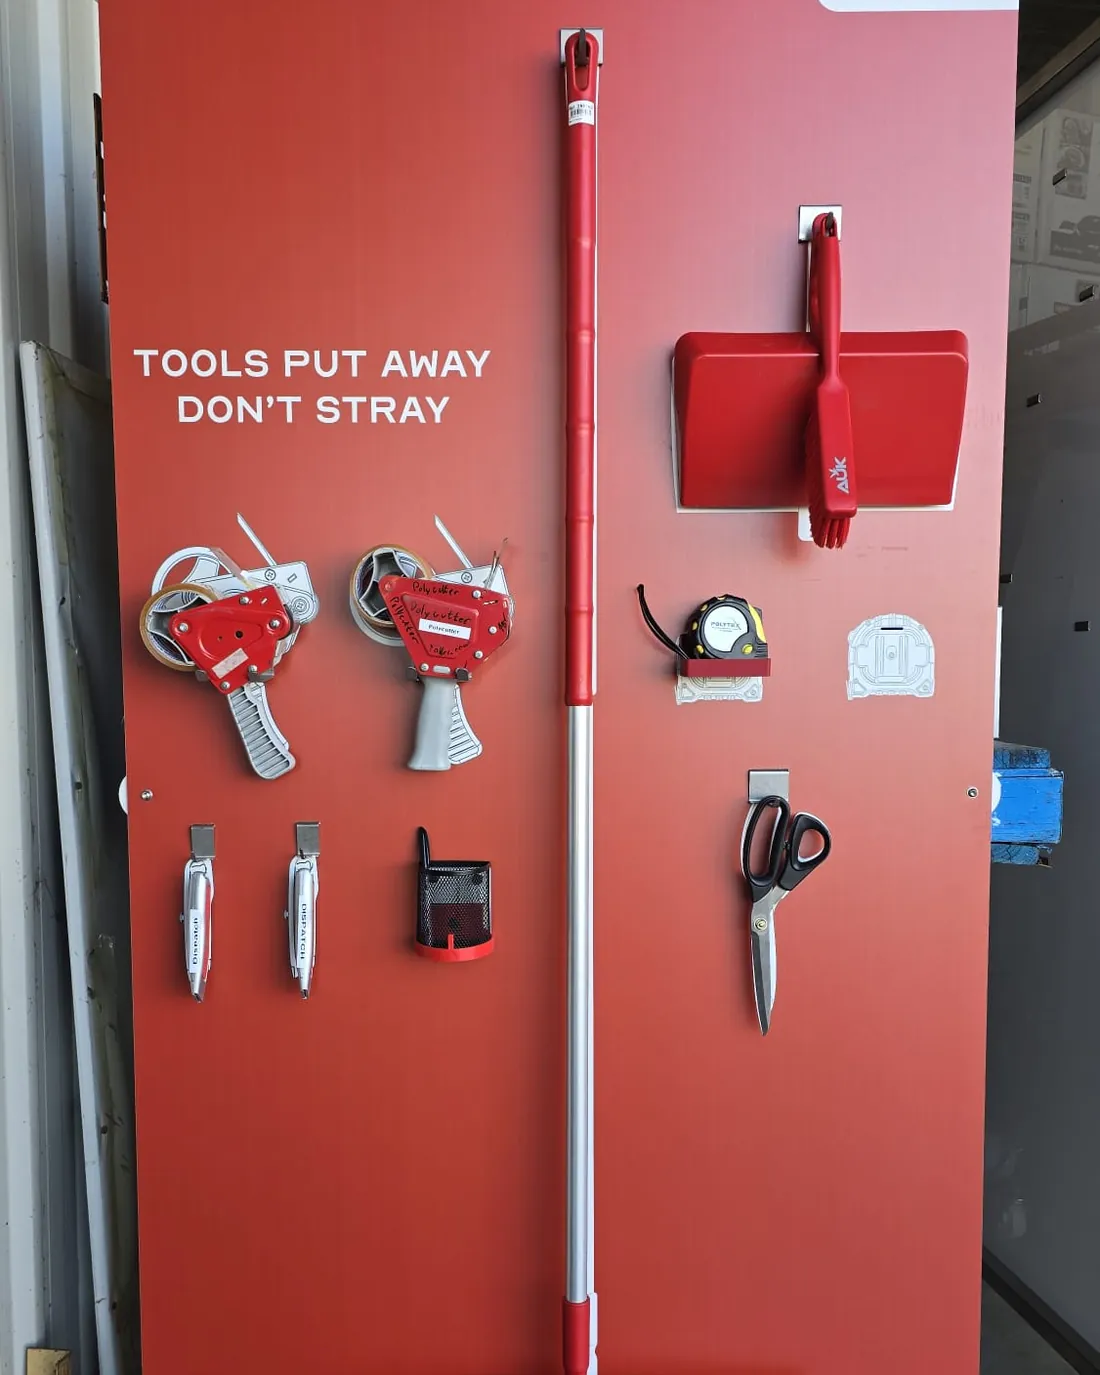
Red production shadow board with white tool outlines, tape guns, broom and dustpan

Production line shadow board

Tape guns, cutters, a broom and dustpan on one board, with the area’s standard printed across the top: tools put away, don’t stray.

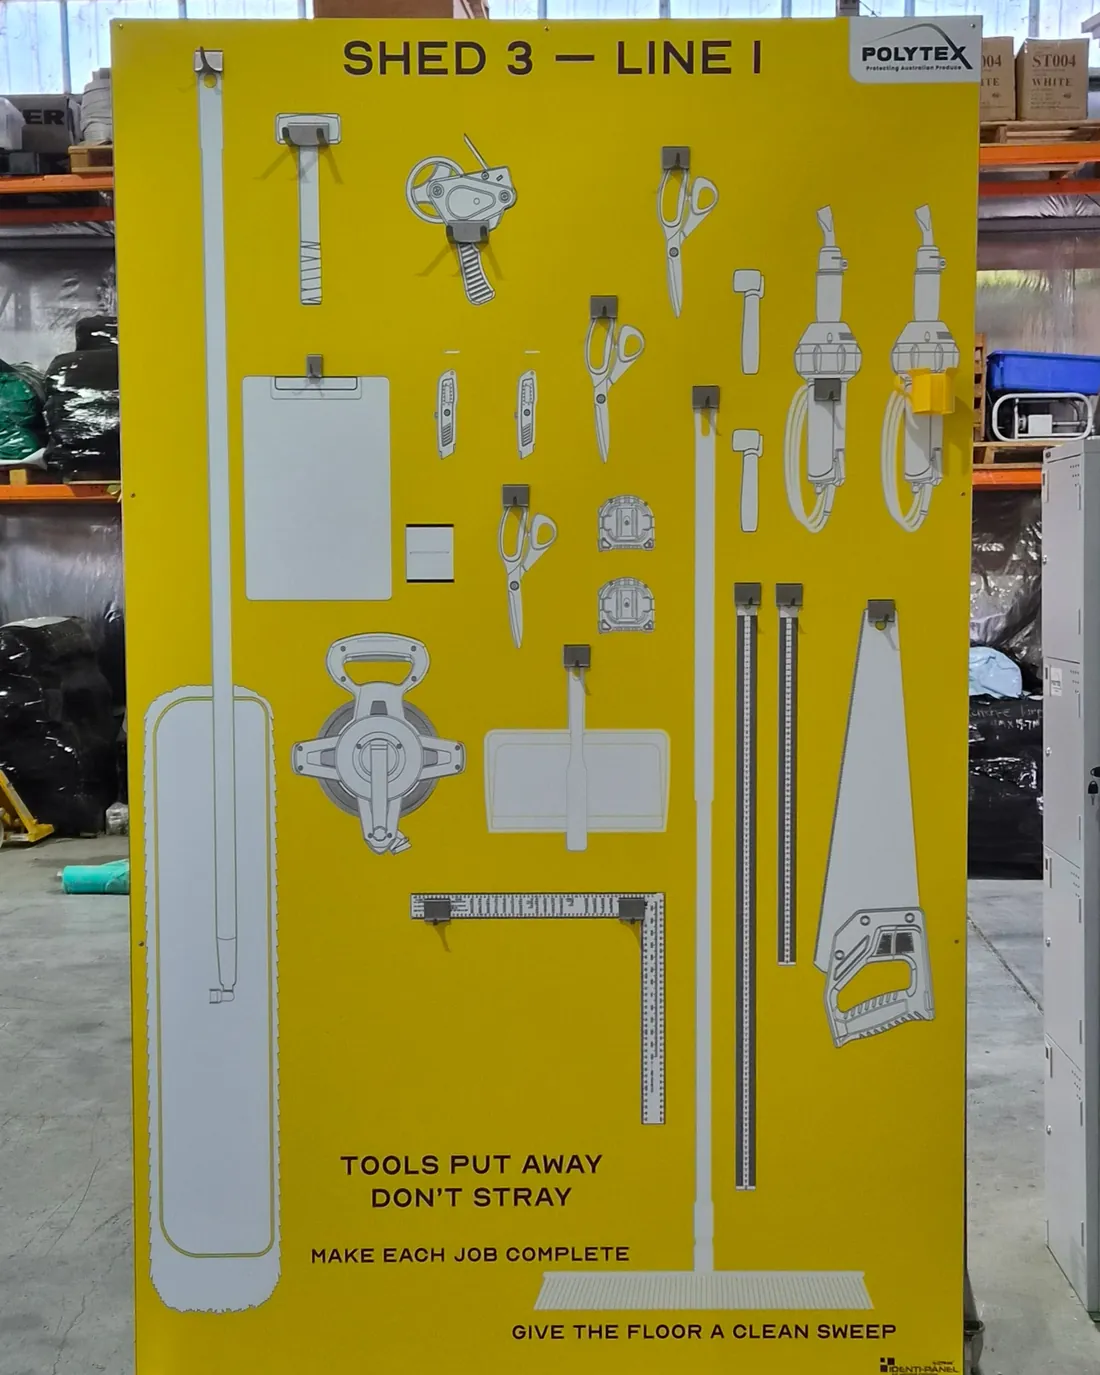
Yellow mobile shadow board on castors labelled Shed 3 Line 1

Mobile shadow board

A yellow board for one production line, built on castors so the tools travel with the work. The line name is printed in the header.

Point-of-use 5S shadow board next to a cutting machine with tools and a check sheet holder

5S board at a machine

Only the tools that one machine needs, plus a clipboard for checks. A good example of Set in Order at the point of use.

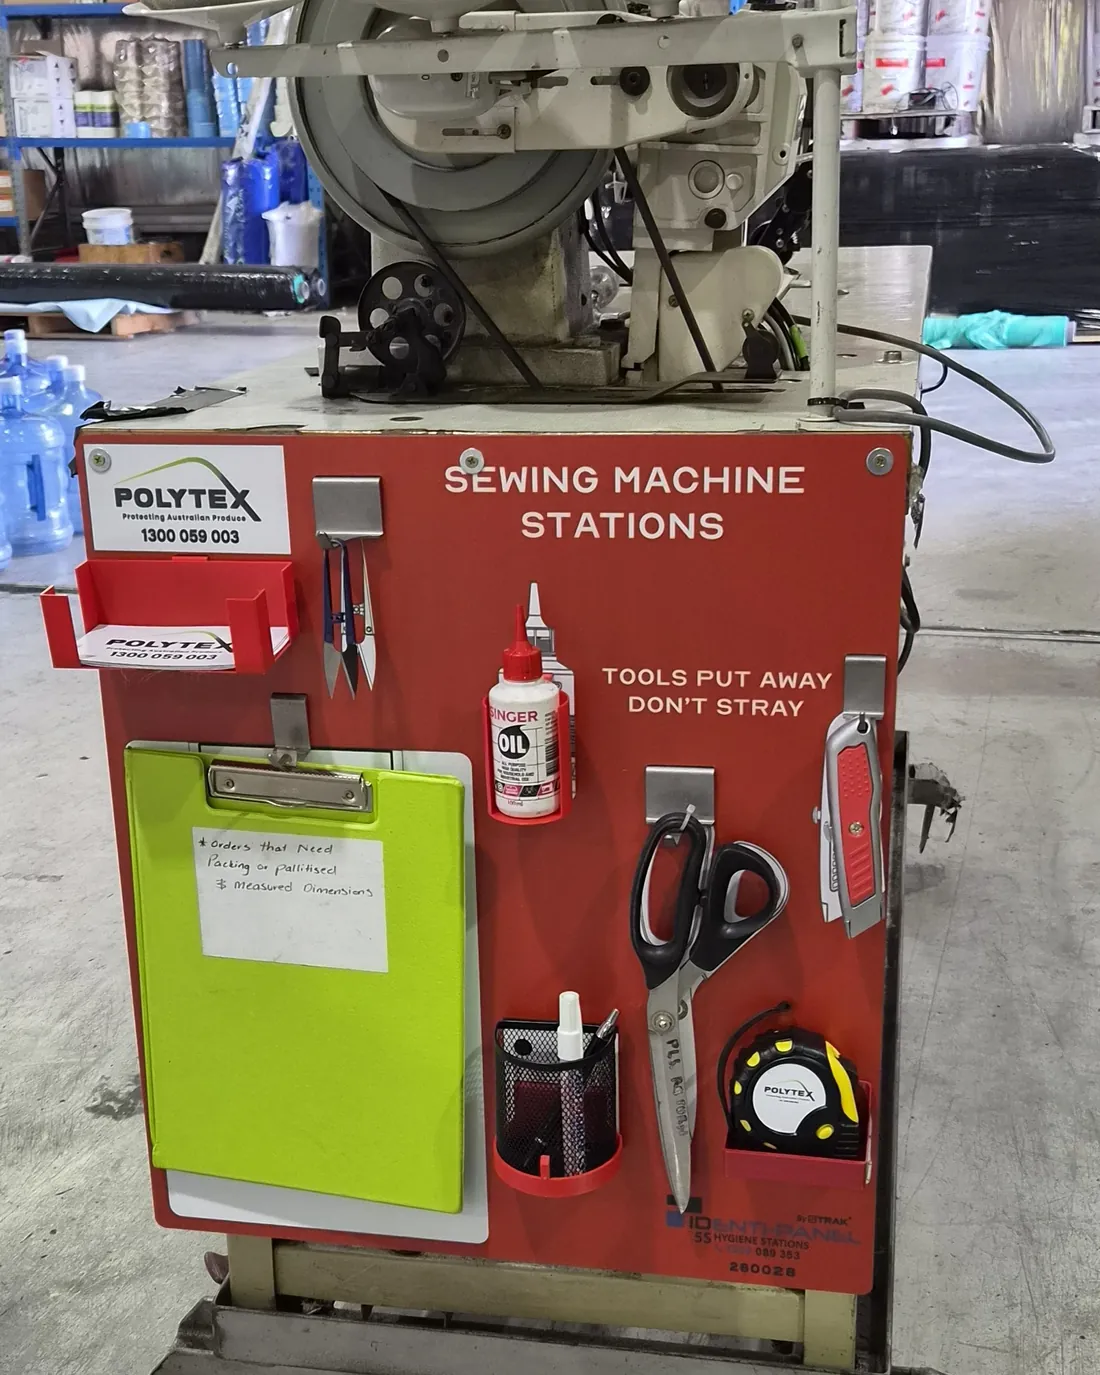
Red shadow board mounted on a sewing machine station with scissors, tape measure and clipboard

Machine-mounted station

A compact board fixed to a sewing machine, so scissors, tape and glue never leave the station.

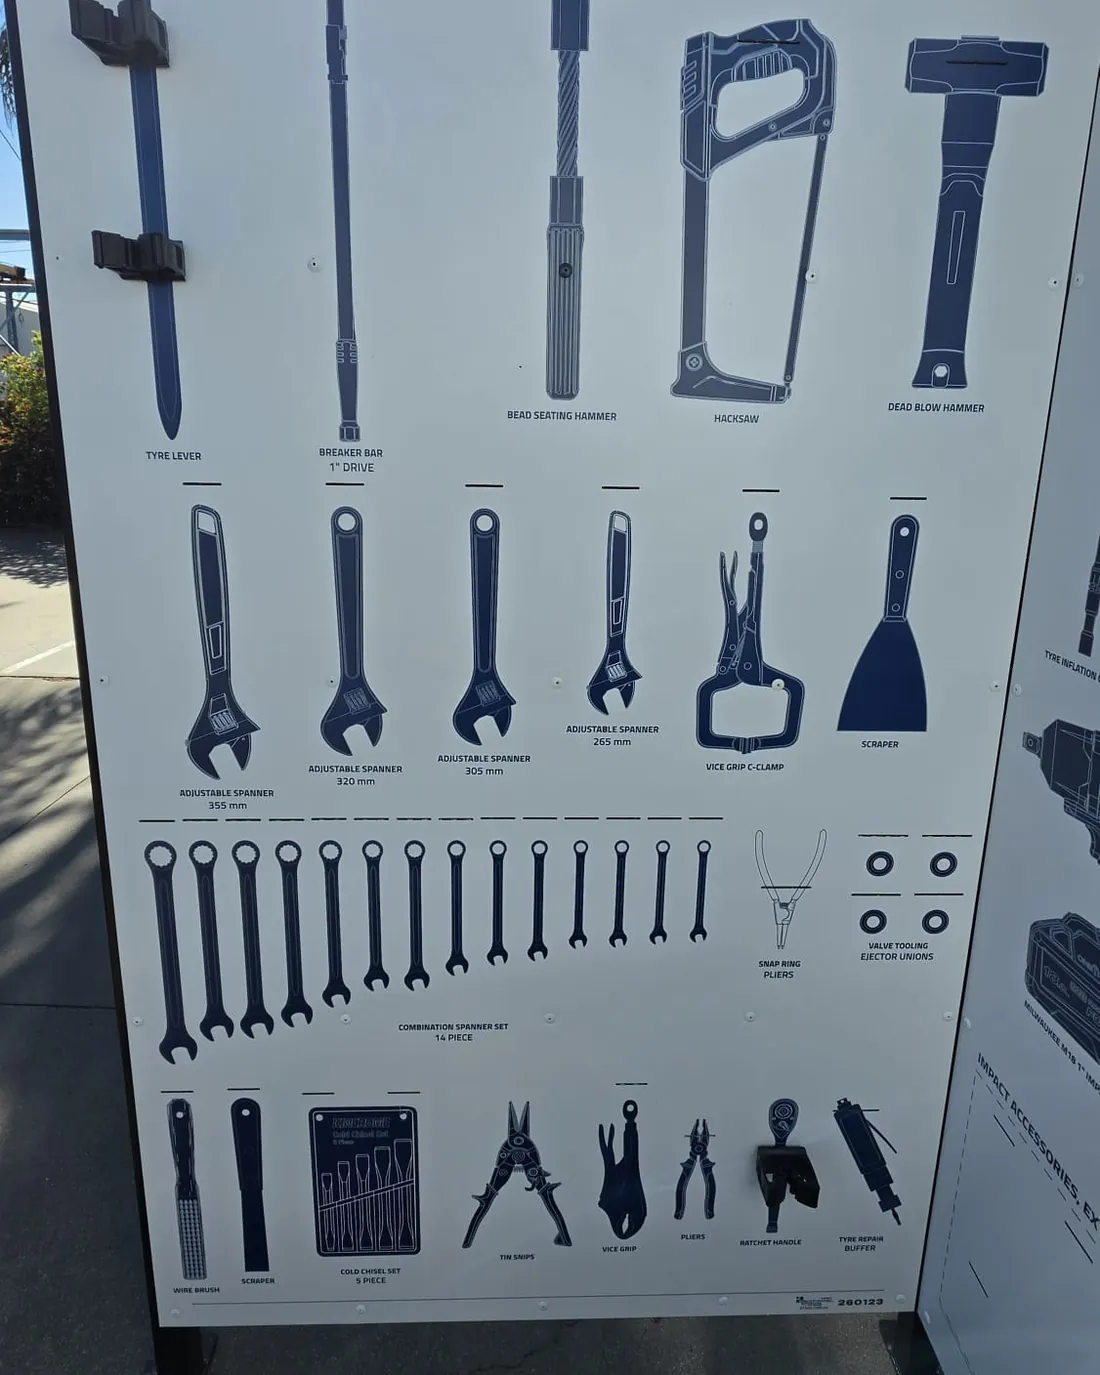
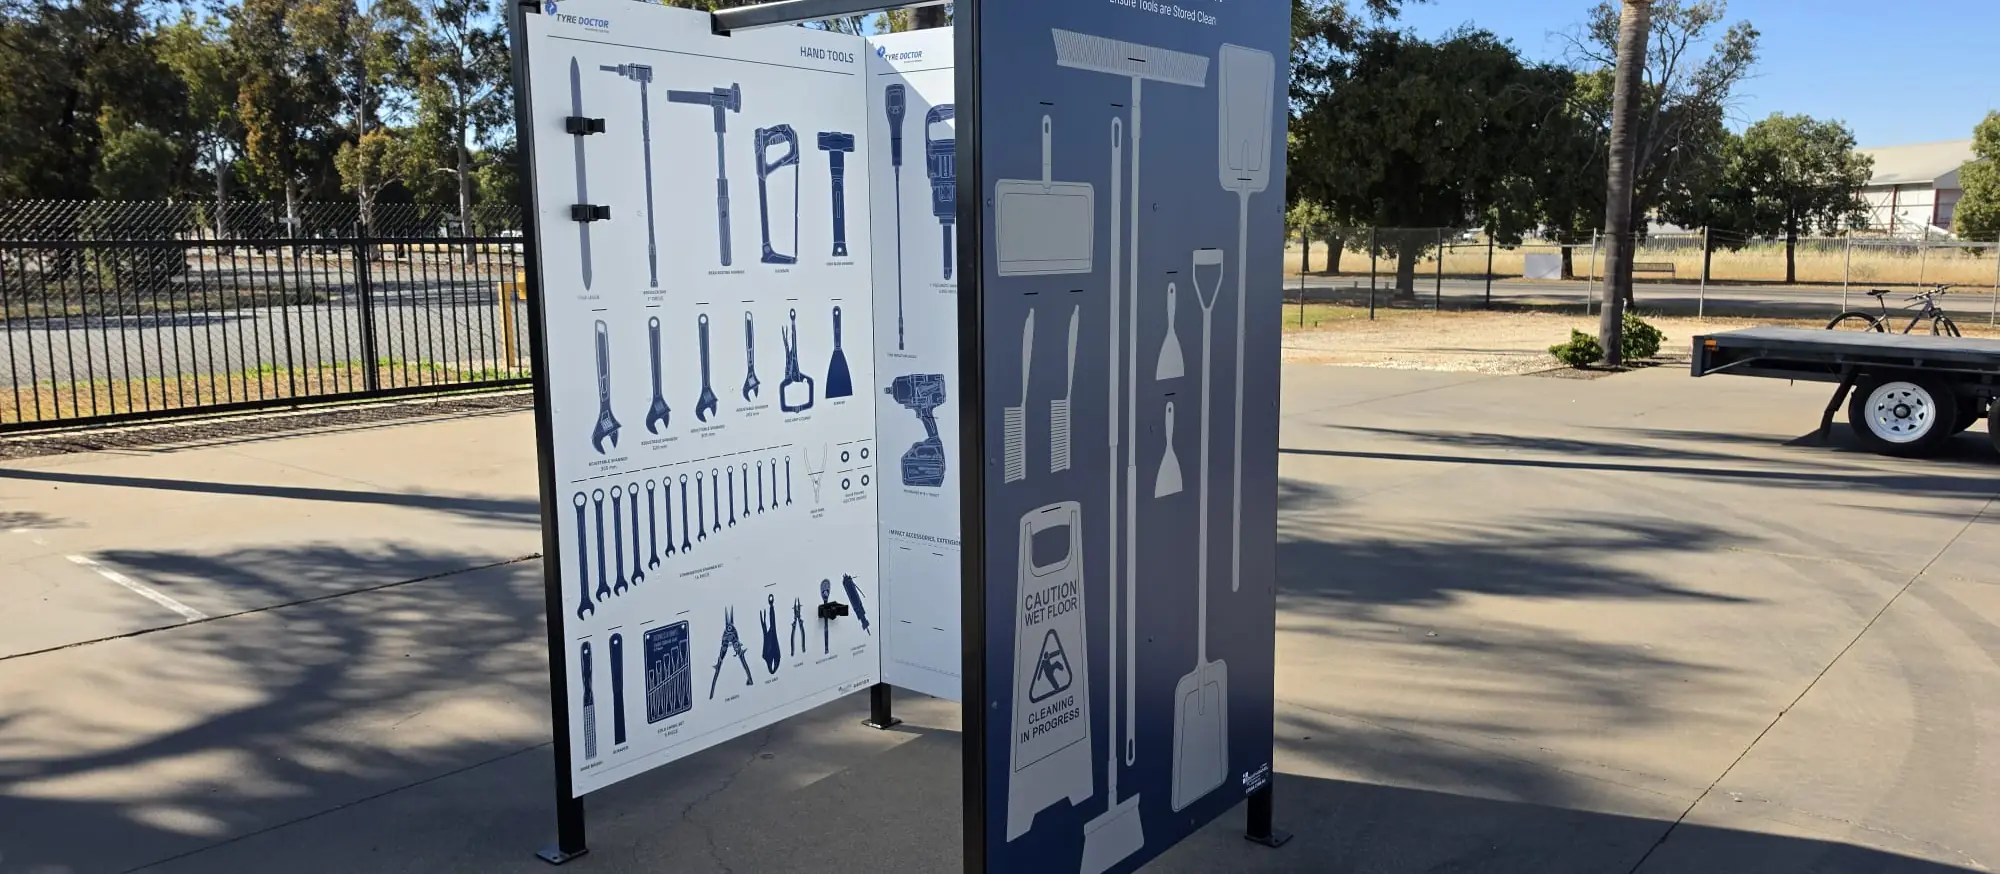
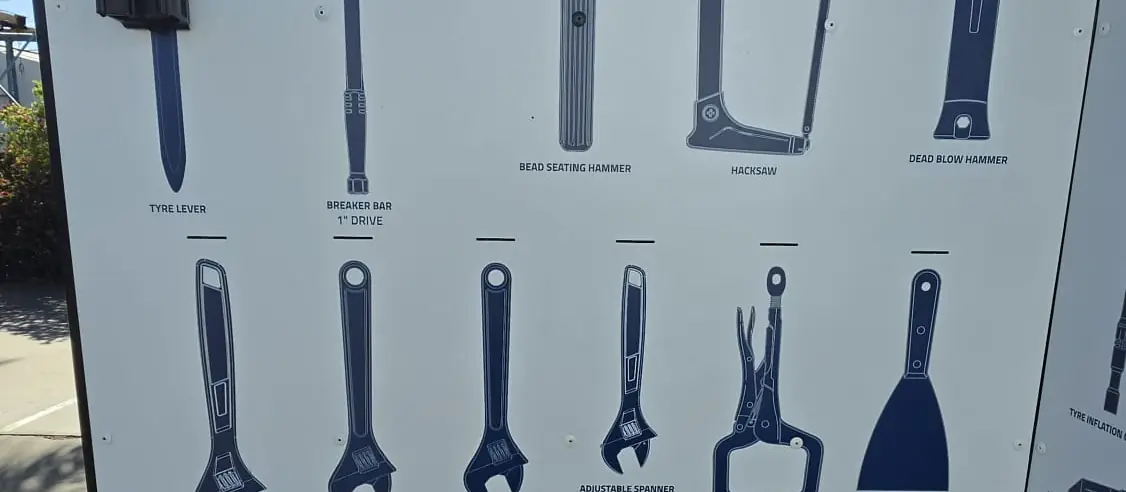
Freestanding double-sided tool station for a mine site tyre bay

Tyre bay tool station

A freestanding, double-sided station for a mine-site tyre bay, built to stand up to outdoor conditions.

Food sites

Cleaning station and PPE station examples

Colour-coded stations for food processing, where storage is part of the food safety system.

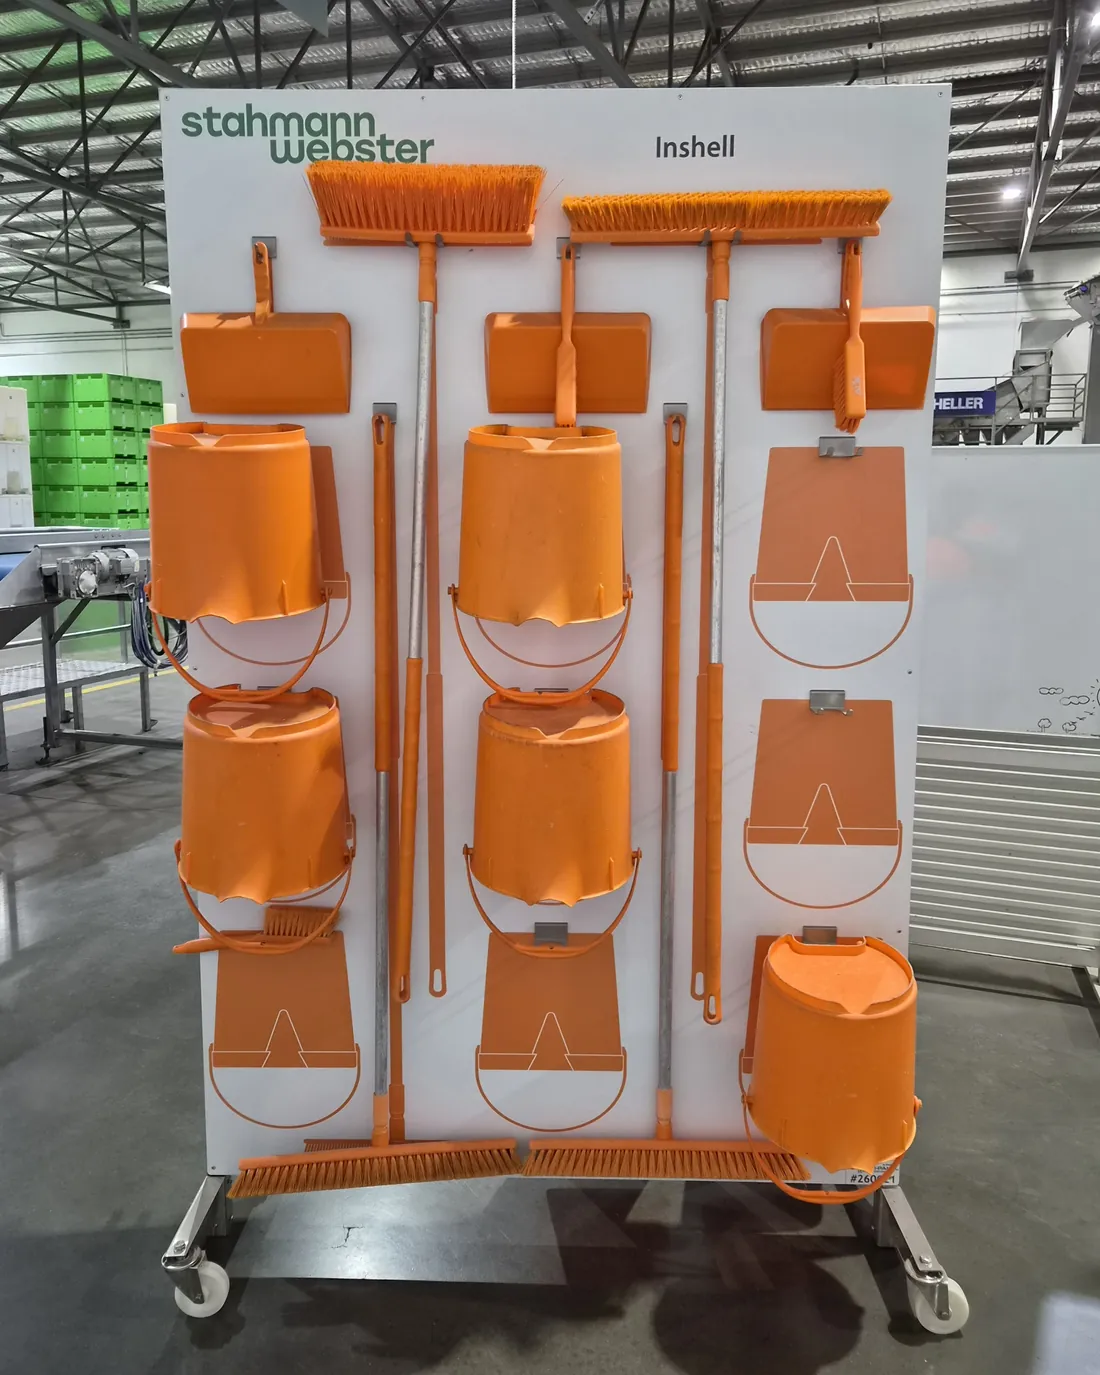
Orange mobile colour-coded cleaning station with brooms, shovels, scrapers and buckets

Colour-coded cleaning station

A mobile, double-sided station holding a full orange set: brooms, shovels, scrapers and buckets, each in a marked position.

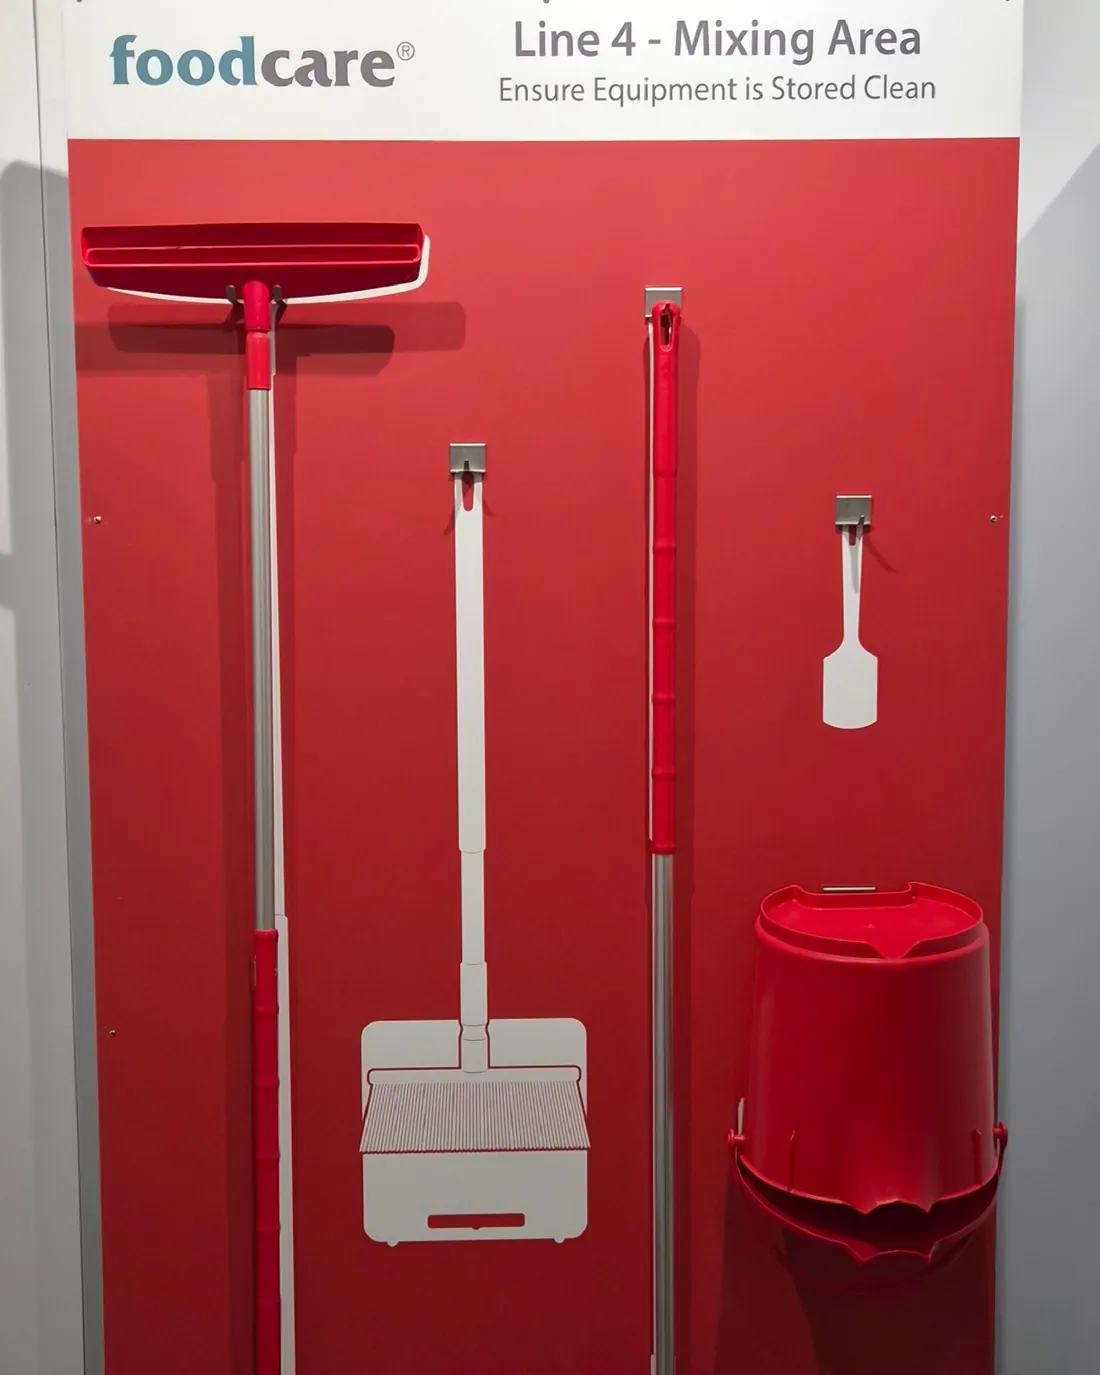
Red cleaning station for a mixing area with broom, squeegee, scraper and bucket

Zone cleaning station

One station per zone, in the zone colour. The header names the area and the rule, so the standard is part of the board.

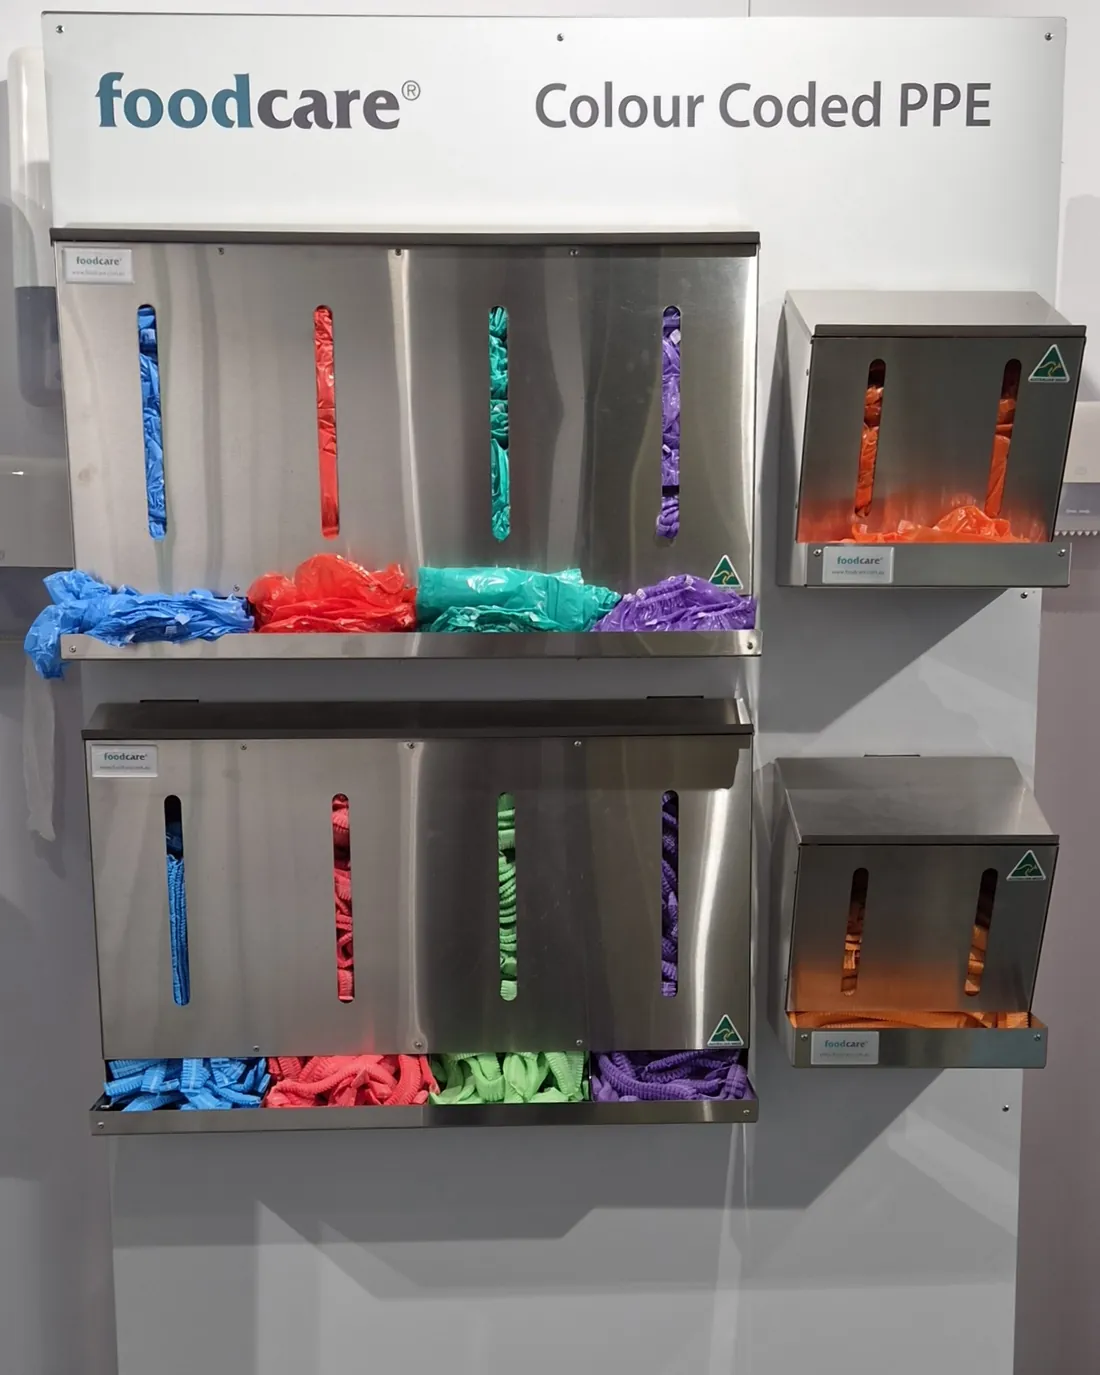
Colour-coded PPE station with stainless dispensers for gloves, aprons and sleeves

Colour-coded PPE station

Stainless dispensers for gloves, aprons and sleeves at a zone entry, colour coded to match the area.

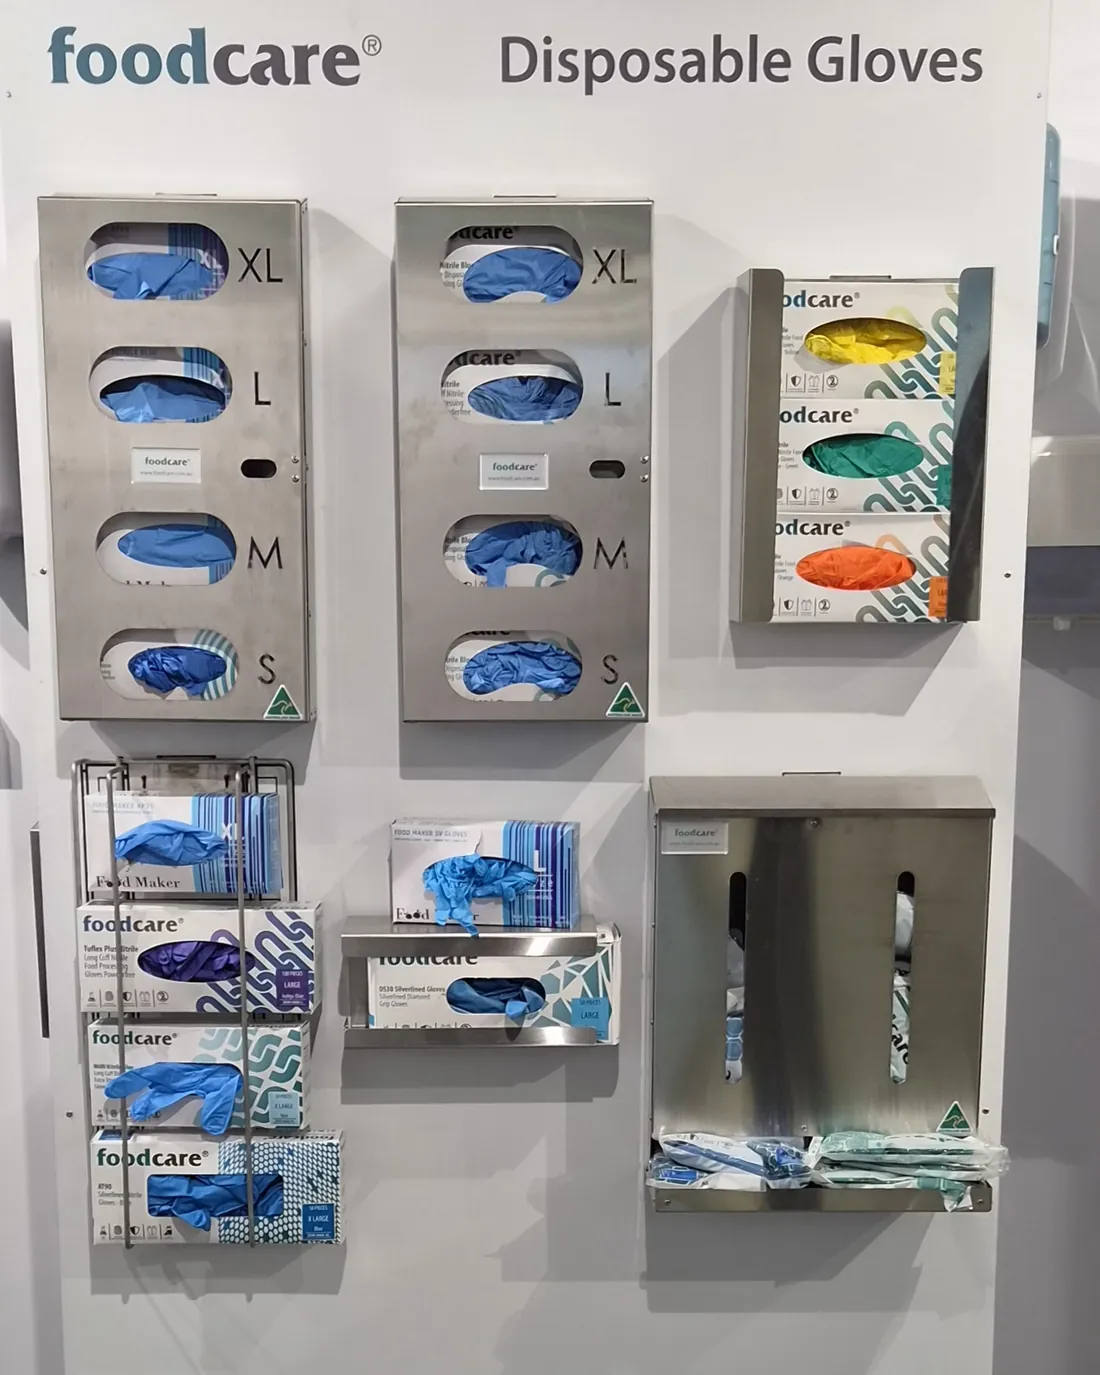
Glove dispenser station with labelled sizes and stainless holders

Glove station

Disposable gloves by size, with every dispenser labelled. Simple to restock and easy to see when a size runs out.

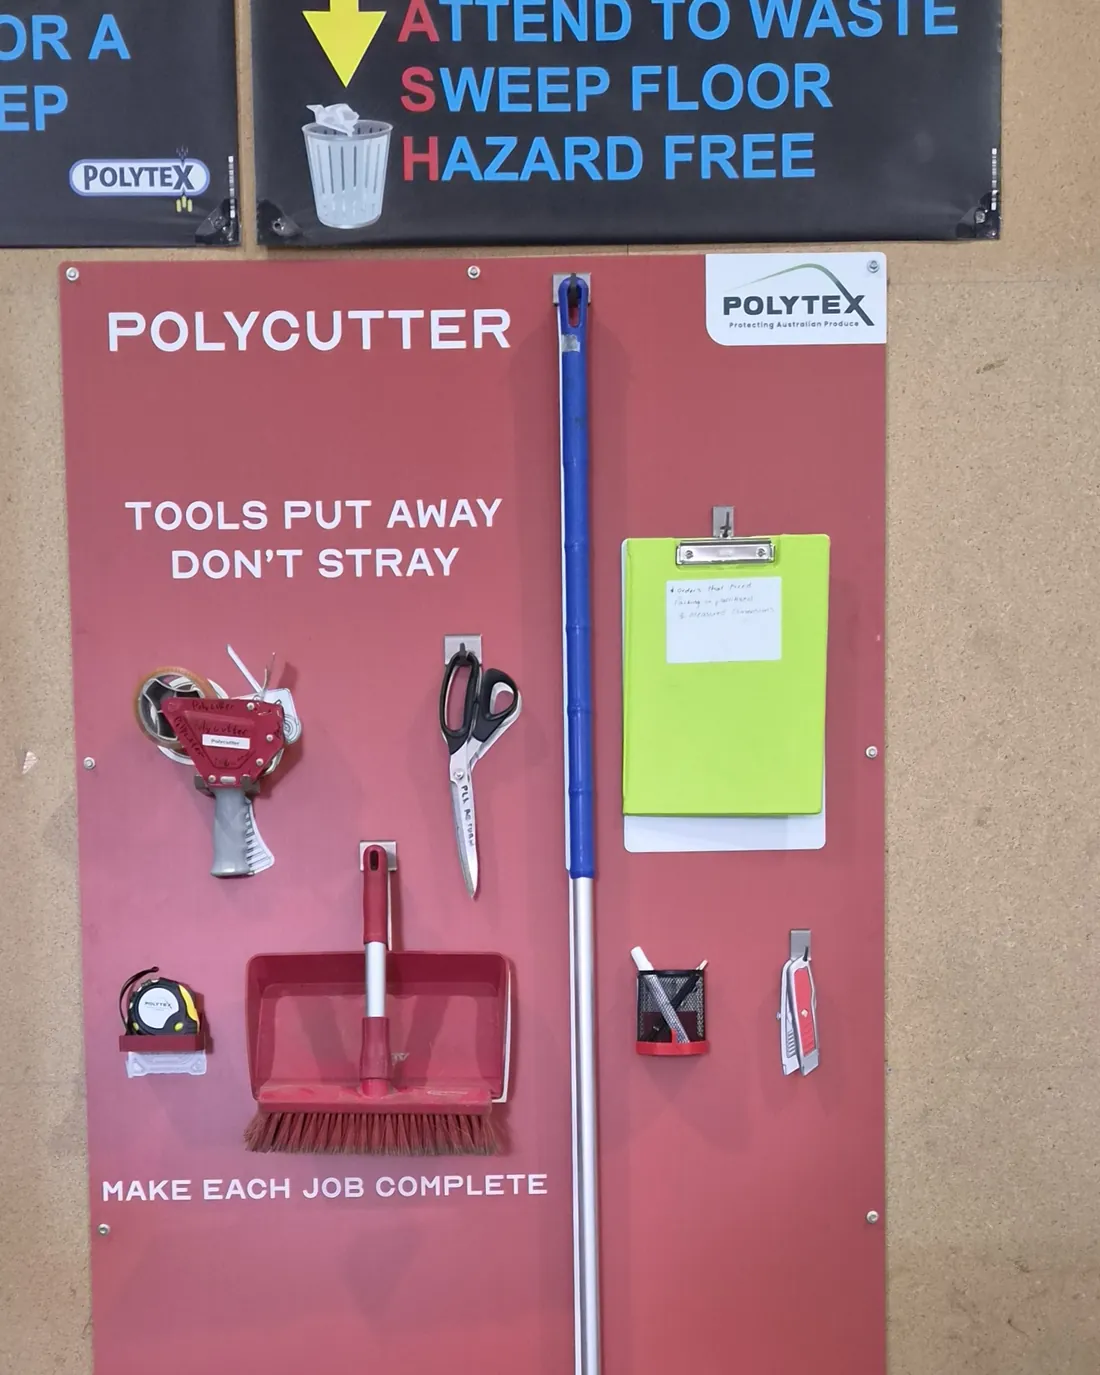
Red dispatch area shadow board with tape guns, cutters and a broom

Dispatch area board

Tape guns, cutters and a broom for a dispatch bay, so packing tools stay in dispatch.

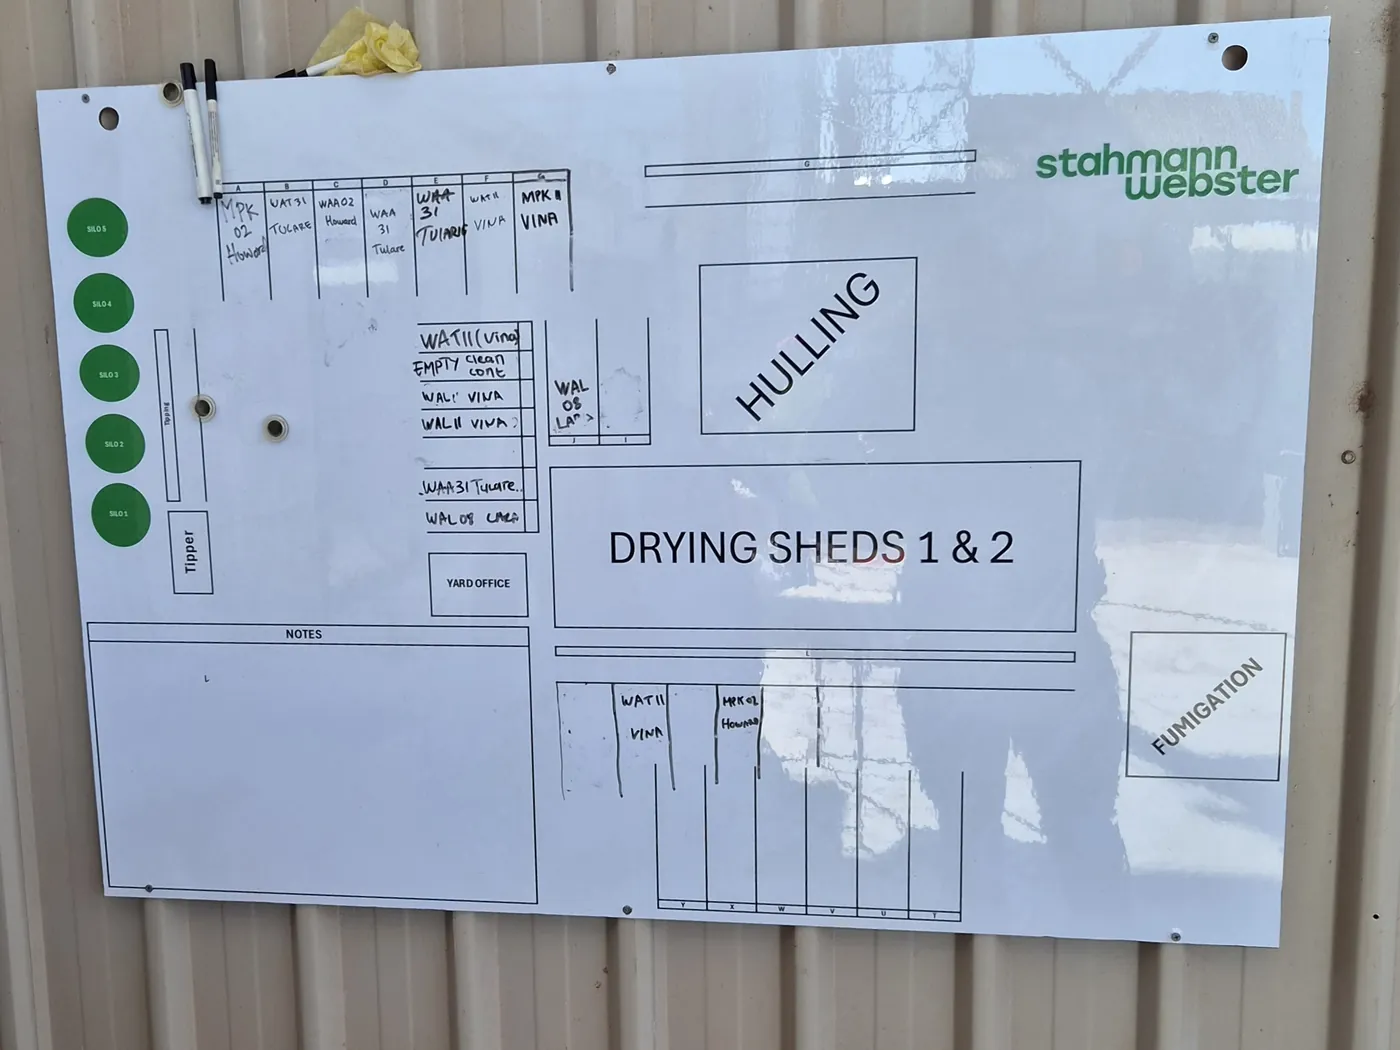
Whiteboard site map showing drying sheds and work areas

Visual management board

A site map board that shows areas and status at a glance. Visual management that goes beyond tools.

Why a template rarely fits

People often search for a shadow board template to print and copy. The trouble is that no two tool sets are the same. A template built for someone else’s spanners leaves gaps for tools you don’t own and no room for the ones you do. The layout has to start from your own tool list.

How to plan a layout yourself

  1. Sort first. Take everything off the wall and keep only the tools this area actually uses. This is the first S of 5S.
  2. Lay the tools out on the floor on a sheet or bench and photograph them from above, with a tape measure in the shot.
  3. Group by job, not by tool type. Everything for one task sits together.
  4. Put the most-used tools between waist and shoulder height, heavy items low and long-handled items to the side.
  5. Leave a little spare space for tools the area will need later.
  6. Label every position with the tool name, and add a header with the area name and its standard.

Or send us the photos

Once you have the photo of your tools, send it through with the wall or floor space available. We will draw a scaled layout around your exact tools within 24 hours, free, and then build it in our Leeton NSW workshop.

Common questions

Frequently Asked Questions

Common questions about shadow board layouts and templates.

Have a different question? Call 1300 089 353 or send it through the contact form. Every enquiry is answered directly.

Can I download a shadow board template?

We don’t publish a generic template because it would not match your tools. Instead, send photos of your tools and the space, and we will draw a layout around them within 24 hours, free of charge.

What should a 5S shadow board include?

A marked position for every tool the area uses, a label on each position, a header with the area name and its standard, and somewhere to hold a check sheet. Many 5S boards also leave a little spare space for future tools.

What size should a shadow board be?

Big enough to hold every tool with a hand-width between them, and no bigger. Most single-area boards are between 900 mm and 1200 mm wide. Mobile and double-sided boards suit areas without free wall space.

Can the board match our site colours or zones?

Yes. Boards can be printed in any colour, which is how food sites match boards to hygiene zones and how factories match them to lines or departments.

Precision in place

Need a system designed around your workplace?

Tell us what needs to be organised, where it will be used and any practical requirements we should understand. Photographs, tool lists and work-area dimensions are useful starting points where available.

Custom layouts built around your tools No finished specification needed to start Australian workplaces supported
Discuss Your Requirements